Set Up the Wi-Fi to Connect to the Internet
- On the Home screen, tap on the Settings button
 . Under the ‘Wireless and Networks’ option, tap on Wi-Fi. Make sure Wi-Fi is switched to ‘On’. If it is in the ‘Off’ mode, tap the switch to turn it ‘On’.
 - From the list of wireless networks, tap on the name of your wireless network.

- You will be asked to enter a password.
- The onscreen keyboard will come up. Use it to type in the network password and press Enter.
- If the password is correct, you should be connected. A little note will appear under the network name saying that it is connected.
- Press the Home button to return to the Home screen.
Using the Touchscreen
Touch-entry and typing are the big differences between a tablet and PC or laptop. You do not have a mouse or a keyboard. This is because your tablet understands your touch! Touch-taps, drags, swipes and even pinch & reverse-pinch gestures of your fingers communicate what you want to the tablet.
Understanding the Different Gestures
- Tap: To act on items on the screen, such as application and settings icons, to type letters and symbols using the onscreen keyboard, or to press onscreen buttons, you simply touch them with your finger.

- Drag: Touch and hold an item for a moment and then, without lifting your finger, move your finger on the screen until you reach the target position.
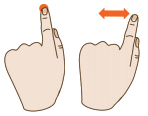
- Swipe or Slide: To swipe or slide, you quickly move your finger across the surface of the screen, without pausing when you first touch it. For example, you slide the screen up or down to scroll a list, and you can swipe the screen to change the range of items visible.
- Double-Tap: Tap quickly twice on a webpage, map or other screen to zoom.

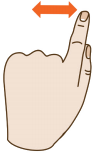
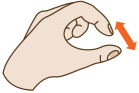
- Pinch: In some applications, like maps and gallery, you can zoom in and out by placing two fingers on the screen at once and pinching them together (to zoom out) or spreading them apart (to zoom in).
- Touch and Hold: Touch an item on the screen and do not lift your finger until an action occurs. For example, you can open a menu for customizing the Home screen by touching an empty area on the screen until the menu opens.
Understanding the Buttons and Icons for Navigation

- To Power On/Off: Long press the power button to turn on/off the tablet. It may take a minute to boot the tablet.This button is located on the side of your tablet. It can be used to power on and off (switch on and off) the tablet as well as turn the screen on and off. To Turn Screen On/Off: Short press the power button to turn on/off the screen.

- Unlock the Screen: After you short press the power button to turn on/off the screen, you arrive at the screen’s standby mode. Slide the lock icon in order to unlock the screen. Once the screen is unlocked, you are on the Home screen.

- Home button – This is located at the bottom of the screen of your tablet. It takes you directly to the Home screen.

- Back button – This is located at the bottom of the screen of your tablet. It takes you to the screen you were on previous to the current screen.

- All Apps button – This is located at the bottom of the screen of your tablet. It takes you to the All Apps screen, which displays the icons of all the apps present in your tablet.
Browsing the Internet
On your Home screen, you will see the Google search bar. You can type the URL or search terms to begin browsing the Internet.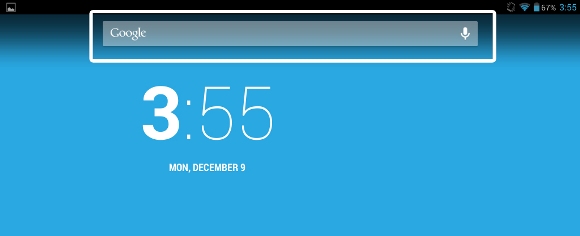
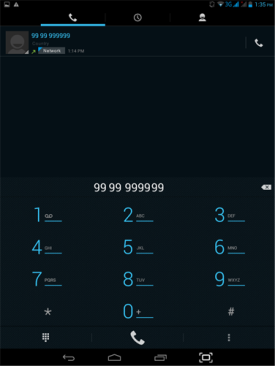
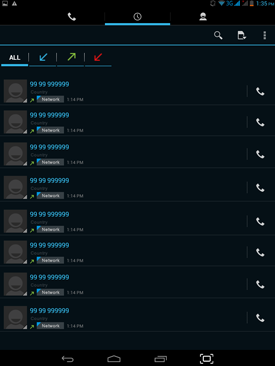
Making a Call
Some of our tablets have 2G. You can use the tablet to make calls. For this, you will need to insert a valid SIM card. The tablet will automatically search the network. This could take about a minute. Tap on the main interface  to start the call.
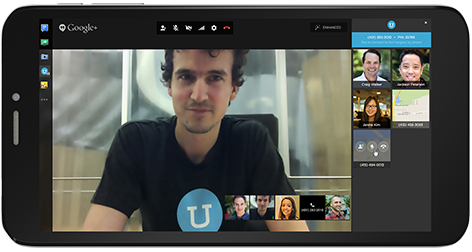
Video Conferencing
Go to the All App screen. Locate the Skype icon  . Tap it. If you do not have an account on Skype, you will need to create one. Once your account has been created, you will need to add the contact details of the person with whom you wish to have video conference. When you use Skype to make a call, it asks you whether you would like to have a video call. You can select this option and the front camera of your tablet will come on automatically.
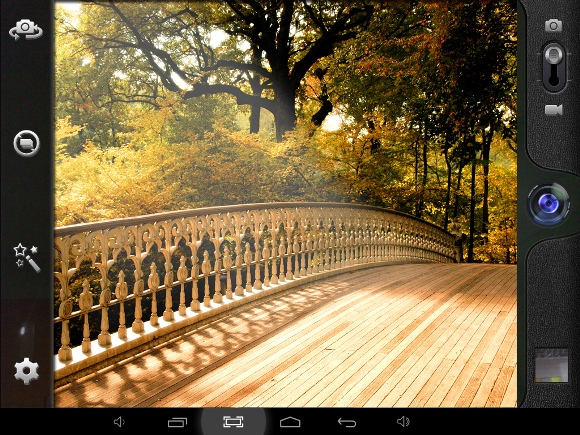
Clicking Photographs
Most of the Pinig tablets have a front and a back camera. The back camera is for taking pictures and recording videos. Tap on the camera icon  . You will see options to take still images and make a video recording.